The Roofing Process: How Professionals Install Your New Roof
The Roofing Process: How Professionals Install Your New Roof

However, we’re sure you have plenty of questions about how this process works. Thankfully, we’re here to help!
In the article below, we’ll cover the roofing process to give you an inside look at how professional roofing contractors install your new roof! Continue reading to learn more!
Materials Delivery and Existing Roof Removal
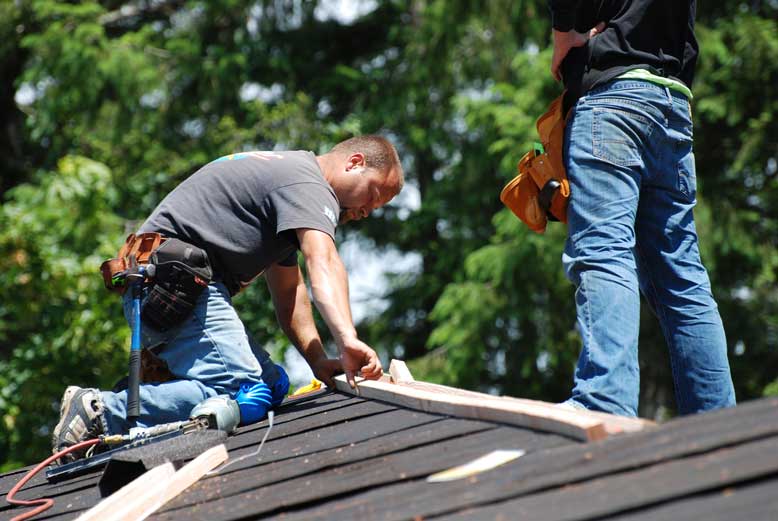
During this time, the roofing crew will start removing your existing roof. This involves tearing off old shingles to reveal the underlying plywood that makes up the roof structure. All old shingles and felt paper will be removed to give your roof a new, solid foundation to ensure a longer lifespan. If any of the underlying plywood is damaged or rotten, it’ll be torn off and replaced with a new sheet of plywood before continuing.
Prepping the Roof and Installing Base Materials
Ice and water shields are typically installed in the valleys of the roof for added protection against the weather. Chimneys will also be protected by these ice and water shields as they’re a common location for roof leaks. If the exposed roof is damp, it will usually be left to dry before installing shingles.
Asphalt Shingle Installation
With the shingles all installed, your roof vents and pipes may need to be painted to match the color of your new shingles. By painting these accessories, your roofer will ensure that they blend in with your new roof, giving it a smooth, consistent appearance and increased curb appeal!
Inspection and the Final Cleanup
Typically, a member of your contractor’s team will run a nail magnet around the edges of your house, walkways, and driveway to pick up any dropped nails or other metal debris that may have found its way into your yard. With all the trash picked up and your property clean and beautiful, the installation is complete!


