Handy Outdoor Holiday Lighting Tips

Handy Outdoor Holiday Lighting Tips
Nov 18, 2020 | Roofing Tips

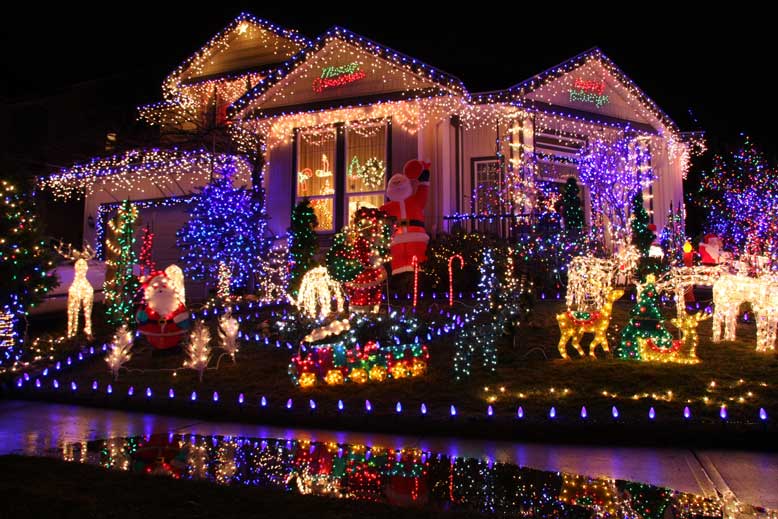
With the holidays right around the corner, we’re sure many of you are planning some beautiful light displays!

Maybe it’s your first year putting up lights, or perhaps you’ve done this before, and you’re looking for some tips to make it go smoother this year. Either way, we’re here to help!

In the article below, we’ll cover some useful tips for hanging your outdoor holiday lights this year! Continue reading to learn more!

Safety Comes First

Be Cautious Hanging Lights in High Places

Remember to use a sturdy ladder when installing your lights. Look out for cracks in the frame or bent metal support braces. These are surefire indicators of a ladder that’s going to get you hurt. Ensure that your ladder is on a flat surface where it cannot slide if you’re on a step ladder. If you’re using an extension ladder, be sure to use the adjustable feet to secure the ladder’s position in the ground.

It’s essential to keep a buddy with you when you have to climb. No matter how well you prepare or how high-quality your equipment is, anything can happen. For this reason, have someone with you when it’s time to get to work to keep your ladder steady and watch your back. Avoid installing lights on trees that come in contact with power lines.

Remember, work smarter, not harder. Before you hang the lights, plug them in to ensure that all of them are working to prevent the need to climb back up and work off of the ladder. Also, make sure you turn your lights off whenever you leave or go to bed for the night.

Use the Proper Electrical Outlet

Ensure that you have access to the proper power outlet for your hanging lights. Your lights should be plugged up to a ground fault circuit interrupter outlet, otherwise known as a GFCI outlet.

This type of outlet will cut the power if there is an overcurrent. If you’re unsure of what you’re looking at, GFCI outlets are distinguishable by the two “reset” and “test” buttons located at the center of the outlet. Not to mention, many of today’s GFCI outlets have an indicator light as well to show when an overcurrent has occurred. If you don’t have a GFCI outlet, a qualified electrician can permanently install one outside for you before the holidays come.

Another option is to buy a portable outdoor unit from your local home improvement store for around $20 or so. The point of all this is to ensure your lights are shining this year, not sparking or setting the place on fire!

Use the Correct Extension Cords and Keep Them Out of the Way

Before you go plugging your lights into any old extension cord, make sure that it’s rated for outdoor use. You increase the chances of your cable sparking or shorting out if you use an indoor extension cord. Regardless, you need to ensure that the connections are above the ground, snow, or water.

Try to avoid leaving cables in high-traffic areas to prevent trip-and-fall scenarios. If you have to place a cord over a high-traffic location, tape the cord down so it doesn’t hook around someone’s feet and trip them or rip down your lights.

Use the proper cord length needed to plug up your lights as well. You don’t want over-extended cords that can put a strain on both the cable itself and your lights or too long of a cord that will be piled up, creating walking hazards.

Always Use Outdoor Lights

When it comes to holiday decorations and lights, the choices are endless. Whatever style you decide on, always use waterproof or water-resistant lights. Be sure to look for a tag marked underwriters lab or UL. This means that your lights meet national industry standards with the American National Standards Institute. UL-approved lights rated for outdoor use will be safer and prevent any undue stress from replacing shorted out lights or cords.

Check Your Lights and Cords

Before you get started, visibly inspect your light strands and extension cords, even if they’re new. Even a brand new cord or set of lights can be damaged. Frays, cuts, loose plug ends, or any other kind of damage is a problem. If you notice any damage to your cords or lights, it’s time to retire them and get a new set. If it’s brand new, take it back to the store for a replacement.

Hanging Outdoor Holiday Lights Step-by-Step

Step 1: Prep Your Lights

Now’s the time to test your lights if you haven’t already. Plug them in and make sure they’re working because the last place you want to realize your lights don’t work is on top of the ladder.

It’s also a smart idea to invest in some light clips. Many people have relied on staples, clothespins, and other contraptions to hang lights in the past, but a light clip is much simpler and sturdier. These handy tools come in various types for whatever application you need, including fasteners for your doors and windows, railings, gutters, shingles, and more.

Now that you know your lights are working hook the light clips to the lights and make sure they’re all facing the same direction.

Step 2: Making a Plan

First things first, decide where you want to get started. We recommend starting low and working your way up. For example, start with any bushes you want lit, then trees, doors and railings, windows, and finally, the roofline.

Step 3: Lighting Shrubs and Bushes

If you’re putting lights on your bushes or smaller shrubs, net lighting can be an excellent alternative to weaving string lights in and out of branches. These lights are a mesh of interconnected mini-LED lights. Simply drape the net lights over your bushes or shrubs like a blanket! If not, start at the top of your bush or shrub and weave the lights through the branches evenly until you reach the bottom.

Step 4: Lighting Trees

Like using string lights on a bush, start at the top and weave the lights through the branches evenly until you reach the bottom. If you want to avoid getting on your ladder at this point and save some time, you can use a light-hanging pole, which you can find at most home-improvement stores. Use the light-hanging pole to guide the lights through the branches in the same manner.

Step 5: Lighting Railings, Doors, and Windows

As we mentioned above, there are light clips for several applications. Deck clips work well for railings and some window and door borders. If not, adhesive clips can be used for your doors and windows with a clean, non-porous surface to adhere to. Wrap your lights around the desired railings and clip them in place with the deck clips. For your windows and doors, string the lights around the border, keeping them pointed away from the door or window. Secure your clips as you go around the doors and windows.

Step 6: Lighting the Roofline

An all-purpose light clip will work for both gutters and shingles, so whichever route you take will do. Depending on the look you’re going for, face the lights up or down and clip them along the roofline to your gutters or shingles. Ensure that all your lights are facing the same way as you go.

Step 7: Consider a Timer

If you don’t want to head outside to unplug your lights every evening or risk falling asleep and forgetting about them, consider investing in a timer. Some timers come with a light sensor that will cut your lights on at dusk and only let them stay on for the set amount of time. Plug your lights into the timer and set it to how long you want them on.

Step 8: Flip the Switch

Now that you’re done and everything’s plugged up, flip the switch, stand back, and admire your work!